
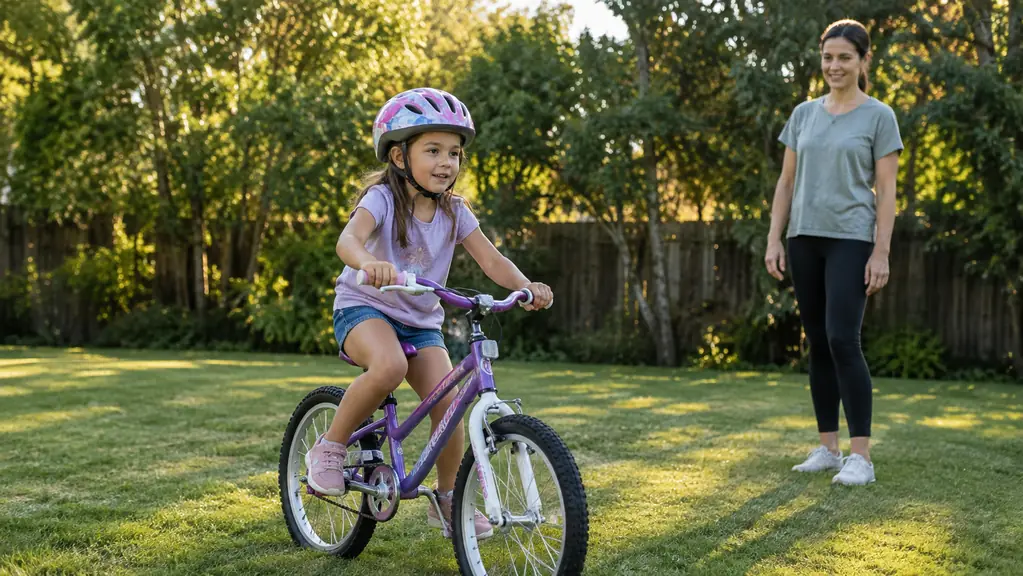
I have a confession to make. For the first few years Cody wore a bike helmet, I did it wrong. I put it on his head, buckled it, and called it good. Then this March I bought him an OUWOER Kids Bike Helmet because the old one slid around every time he turned his head, and I figured a better helmet would fix that on its own. It did not. What fixed it was learning how to fit it, and that is what this guide is about.
A helmet that does not fit right is mostly decoration. It can slide forward over the eyes in a fall, twist sideways when it should stay put, or come off entirely because the strap is loose. The good news is that fitting a kids bike helmet takes about five minutes once you know the steps. I have done it on the OUWOER Kids Bike Helmet for Cody, and the same method works on any helmet with an adjustment dial.
Start with a helmet that can actually be adjusted
The OUWOER Kids Bike Helmet has a dial at the back, a chin strap that tightens on both sides, and three sizes so you can match your child's head measurement. That is the setup that makes a proper fit possible.
Amazon Check Today's Price on Amazon →Step 1: Measure the head and pick the right size
Before you adjust anything, you need a helmet that is in the right size range. A helmet that is too big cannot be saved by cranking the dial, and a helmet that is too small cannot be stretched into working. The OUWOER Kids Bike Helmet comes in three sizes, and the listing tells you the head circumference range for each one. Measure your child's head with a soft tape measure, wrap it around the widest part, just above the eyebrows, and compare that number to the size chart.
Cody is 10, about 4 foot 7, and his head measured right in the middle of the youth size, so that is what I bought. I measured him twice because the first reading looked off, and the second pass gave the same number, which told me I had the tape level. If your child is between sizes, go with the larger one and use the dial to tighten it down. A helmet should feel snug but not painful, and it should not leave a red mark after a few minutes of wear.
One thing I will say plainly: do not buy a helmet for your kid to grow into. A loose helmet is a dangerous helmet, because it shifts in a crash and can expose the forehead or the back of the head. Buy the size that fits now, and plan to replace it as they grow. I keep the size chart on my phone so I can recheck it at the start of each season without hunting for the box. When I measured Cody in March, the youth size fit him with room to spare, and the dial still had a few clicks of range left, which told me he would get a full season out of it before we needed to recheck.
Step 2: Set the fit dial so the helmet grips the head
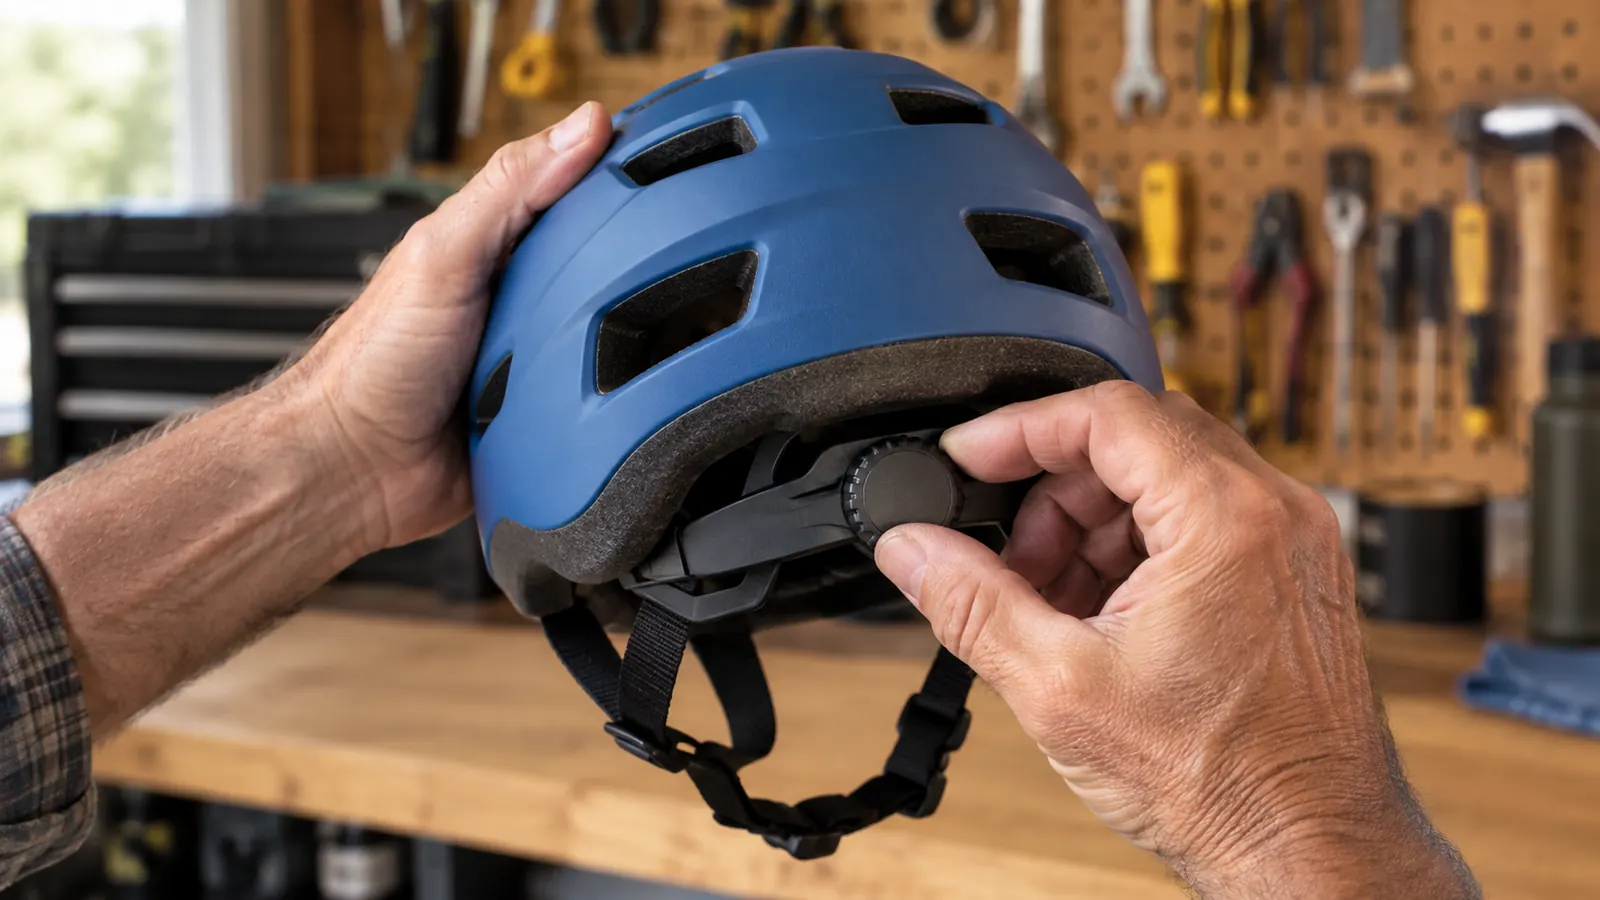
With the right size in hand, put the helmet on your child's head and center it. The front edge should sit about two finger widths above the eyebrows. Then turn the dial at the back until the helmet grips the head evenly, front to back and side to side. You want it snug enough that it does not move when your child shakes their head, but not so tight that it feels like a vise.
This is the step I used to skip, and it is the one that matters most. The OUWOER Kids Bike Helmet has a dial that adjusts in small increments, which makes it easy to get the fit just right. When Cody shakes his head hard, the helmet stays put. That is the test I use every time now. The first time I set the dial, I had it too loose, and the helmet slid forward the moment he looked up at a bird. Tightening it one notch fixed it, and it has not moved since. I remember that afternoon clearly because it was one of the first warm days of spring, and he was itching to get back on his BMX. The helmet sliding was the one thing I could fix in seconds, so I did, and the lesson stuck.
If the helmet rocks side to side or slides forward when your child looks up, tighten the dial a bit more. If it leaves deep marks or causes a headache after a few minutes, loosen it. The right setting is the one where the helmet feels like part of their head, not a hat that happens to be sitting on it. I check the dial before the first ride of the day, because a dial that worked loose overnight is the easiest problem to miss.
Step 3: Adjust the straps so they form a V around each ear
The side straps on a kids bike helmet have a slider, usually right around ear level. Adjust the sliders so the front and back straps meet just below each earlobe, forming a V shape around the ear. If the V sits too far forward or too far back, the helmet can shift in a crash instead of staying in place.
On the OUWOER Kids Bike Helmet, the sliders move easily but stay where you put them. I set both sides so the V sat right at the bottom of Cody's ears, then checked it again after the first few rides. The straps have not needed another adjustment since. The first time I did this, I set the left slider a half inch lower than the right, and the helmet sat slightly crooked until I evened them out. It took one ride to notice and about twenty seconds to fix. I only caught it because I watched him ride down the gravel driveway and the helmet line looked off against his ears from behind.
A quick way to check: have your child open their mouth wide. The helmet should pull down slightly on their head. If it does not, the straps are too loose. If it digs in hard, they are too tight. That little test catches most strap problems in about ten seconds, and it is the same test I use on my own helmet, so it is easy to remember.
Step 4: Buckle the chin strap and make it snug
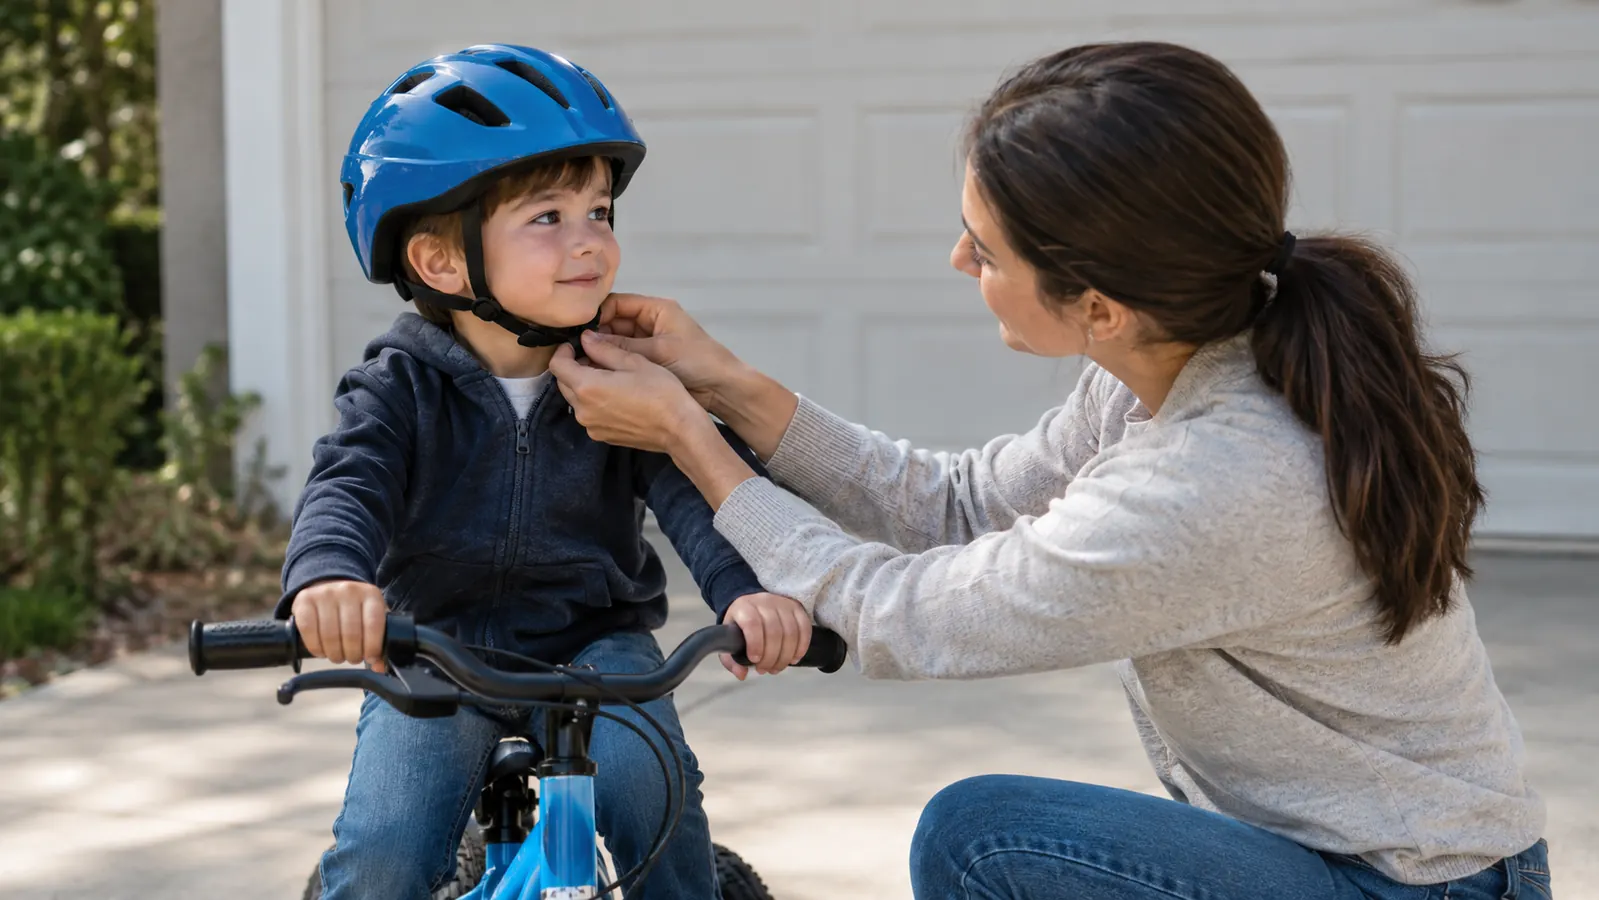
The chin strap is what keeps the helmet on in a crash, so it needs to be snug against the chin, not dangling below it. Buckle it and tighten until you can fit one finger flat between the strap and your child's chin. If you can fit two fingers, it is too loose. If you cannot fit one, it is too tight.
This is the step most parents get wrong, and I include myself in that. I used to leave the chin strap loose because Cody said it bothered him. Then I watched a helmet come off a kid's head in a slow fall on the playground, and I stopped negotiating. Now the rule is simple: the helmet goes on, the strap gets snug, and the ride does not start until that is done. The first week with the OUWOER Kids Bike Helmet, Cody tried to leave the strap loose on the Gotrax scooter, and I made him stop, unbuckle, and redo it before he rolled an inch. He grumbled about it for about a minute, then forgot, and he has not tried it since.
The OUWOER Kids Bike Helmet has a buckle that clicks together cleanly and does not pinch. That matters more than it sounds like it should, because a buckle that pinches is a buckle your kid will fight every single ride. Cody can buckle and unbuckle it himself now, which means he has no excuse to skip it. I still check it before he takes off, but he gets it right on his own most days. The one time he did not, the strap had twisted around the buckle, and it took me longer to untwist it than it would have taken him to just do it right.
Step 5: Do the shake test and the two-finger check before every ride
Once the helmet is on, adjusted, and buckled, do two quick checks. First, have your child shake their head side to side and then nod up and down. The helmet should not shift more than about half an inch in any direction. Second, try to push the helmet forward and backward with your hand. It should resist, not slide across the scalp.
I do this check every time Cody heads out, whether he is on the Joystar BMX, the Razor MX400, or the Gotrax scooter. It takes fifteen seconds, and it catches the times when the dial has worked loose or the strap has come undone since the last ride. Helmets do not stay perfectly adjusted on their own, especially with a kid who takes it off and on all day. One afternoon this spring, Cody took the helmet off between rides on the MX400 and left it on the workbench, and the dial had shifted by the time he put it back on. The shake test caught it before he got on. That was the same afternoon I had just finished charging the battery and checking the tire pressure, so the helmet check fit right into the routine.
If anything feels off, spend the two minutes to fix it right then. A helmet that is close enough is not close enough. The whole point of the exercise is that the helmet is in the right position when it actually has to do its job, and that is a binary thing. It either is or it is not. I would rather delay a ride by two minutes than wonder whether the helmet was sitting right when it mattered.
What Else Helps
A properly fitted helmet is the most important piece, but a few other habits make the whole system work better. Store the helmet somewhere it will not get crushed, like a pegboard hook in the garage rather than a pile of gear in the back of the car. Replace it after any crash where the helmet took a real hit, because the foam can be damaged even if the outside looks fine. And check the fit at the start of every season, because kids' heads grow faster than you expect. Cody's helmet from this spring still fits, but I check it the same way I check the brakes on his bike: before the season starts and after any crash.
The OUWOER Kids Bike Helmet is a multi-sport helmet, so Cody wears it for biking, scootering, and riding the electric dirt bike. One helmet that fits well and gets worn every time beats three helmets that sit in the garage because they are uncomfortable. That is the real test of any kids helmet: not how it looks on the shelf, but whether your kid will actually wear it on every ride.
A helmet that does not fit right is mostly decoration. The five-minute fit check is what turns it into protection.
Fit it once, check it every ride
The OUWOER Kids Bike Helmet gives you the adjustment dial, the snug chin strap, and the three sizes you need to get the fit right. Measure your child's head, pick the right size, and do the five steps above before the first ride.
Amazon Check Today's Price on Amazon →