
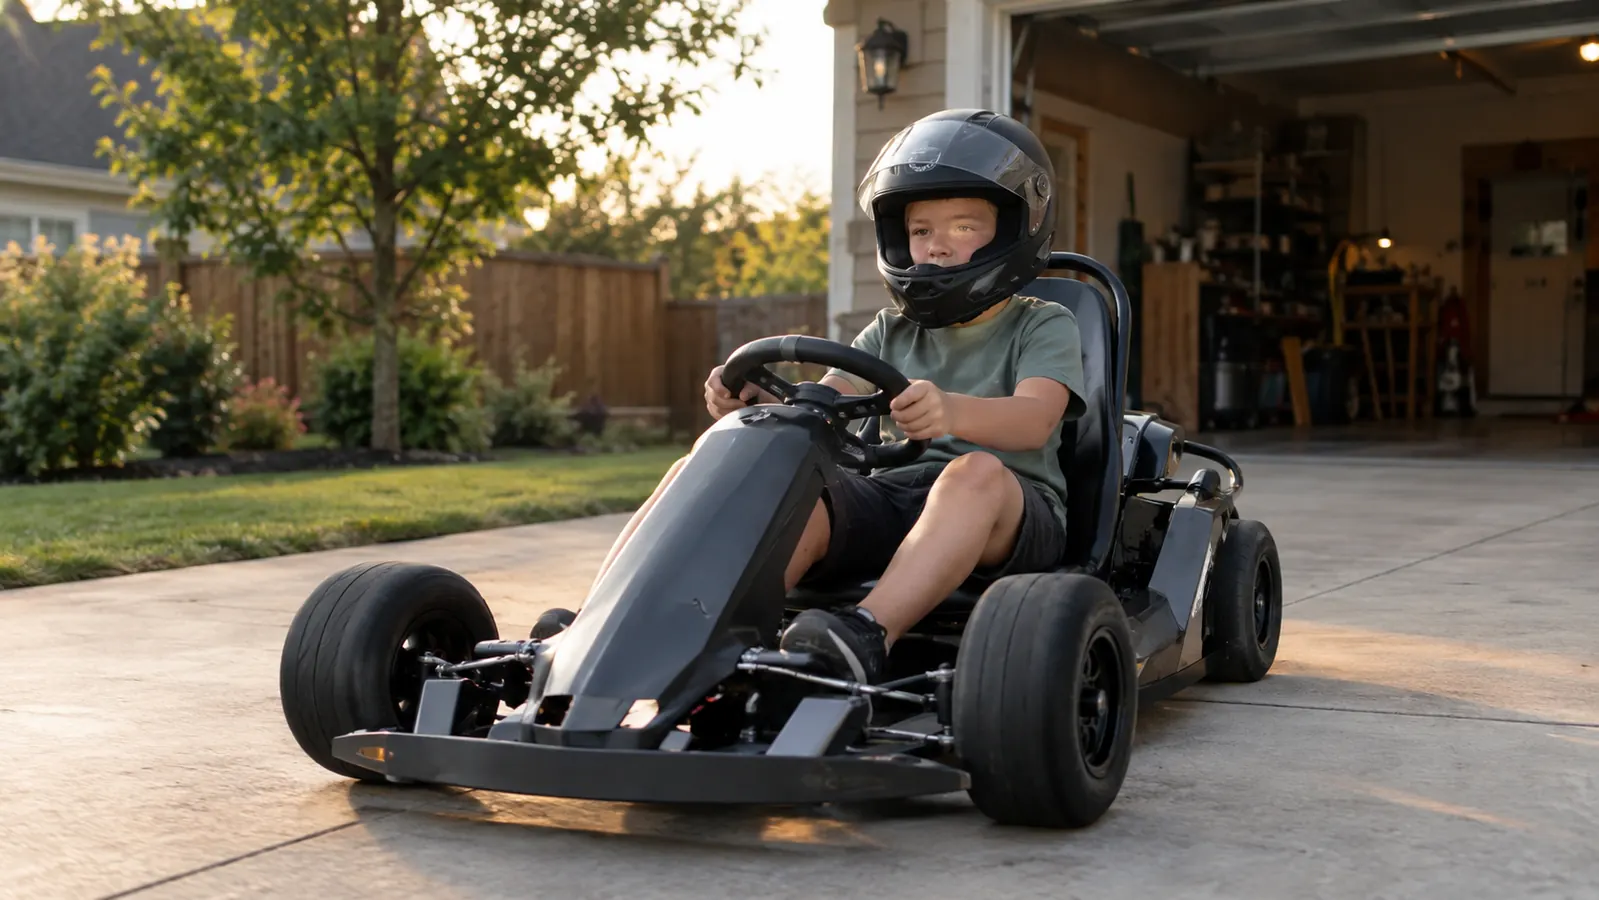
The box showed up three days before my son's birthday, and it was bigger than I expected. The Razor Crazy Cart Shift is the electric go kart he had been asking about since spring, and I had already told myself the setup would take an evening. It took most of one, plus a second evening of fiddling with the seat and the battery before I was happy with it. If you are about to unbox one of these for your own kid, here is the setup routine I landed on, including the parts I would do differently the second time.
A few ground rules first. This kart is meant for smooth, flat, dry surfaces. We run ours only on the concrete pad in front of the garage, never on gravel or grass, because it needs that surface to steer and drift the way it is supposed to. My son wears his helmet on every ride, closed-toe shoes, and one of us is always outside with him. He does not ride on the road, and I check the brakes and tire pressure before the season and after any crash. That routine is not extra credit. It is the whole job.
The kart my kid has been on every dry day since June
The Razor Crazy Cart Shift is the electric go kart we set up for driveway drifting on our concrete pad. It has held up to a summer of daily rides, and the hand controls make it easy for a 10-year-old to learn.
Amazon Check Today's Price on Amazon →Step 1: Unbox and inventory every part before you touch a tool
Lay the box flat in the garage and pull everything out before you start. The Razor Crazy Cart Shift ships mostly assembled, but there are still a handful of parts to attach and a few pieces of cardboard and foam to account for. I lined everything up on the workbench: the kart itself, the seat, the hardware bag, the charger, and the manual. It took ten minutes and saved me from hunting for a bolt halfway through. The hardware bag had four bolts, two washers, and a small Allen key, and I set each one in its own spot on the bench so I could see at a glance if anything was missing.
Read the manual once before you assemble anything. I know, nobody reads the manual. But Razor prints the age and weight rating in there, along with the surface requirements, and it is worth knowing those numbers before your kid is sitting in the seat. Follow the age and weight rating Razor prints for it, and keep the kart on the surface it is designed for. The manual also tells you how the hand controls work, which matters more than you think once you are teaching a 10-year-old to drift. I read mine on the workbench with a cup of coffee, and it saved me from guessing on the first assembly.
One thing I wish I had done: take a photo of the box label before I threw it away. It has the model number and the date code, which are handy if you ever need to look up a part or check the warranty. I did not, and I spent a few minutes later digging through my phone for the order details instead. The second time I set up a ride-on, I took the photo first, and it took ten seconds.
Step 2: Charge the battery fully before the first ride
The battery ships partially charged, and the manual says to charge it fully before the first ride. I plugged the charger into the wall outlet on the workbench side of the garage and let it sit overnight. I charge it overnight after each session so it is ready the next day, and for run time I go by what Razor's listing says. That habit has kept us from ever having a dead kart at the start of a Saturday. The first charge took longer than I expected, so I was glad I had not planned to ride that same evening.
The charger itself is simple: plug it into the kart, plug it into the wall, and the light tells you when it is done. I hung the charger on a pegboard hook by the garage door so it is not lying on the floor where someone can step on it. The kart gets stored in the garage with everything else that has wheels, and the battery stays in it. I do not bother with any special battery storage routine for a seasonal toy, but I do keep it off the concrete floor in the winter and charge it once a month if it is sitting.
One note on charging: do not let the kart sit plugged in for days. When the light turns green, unplug it. That is the kind of small habit that keeps a battery healthy through a second summer, and it costs nothing. I put a small hook next to the charger so the cord is off the floor, and I made it part of the routine: kart in the garage, charger on the hook, light green, unplug.
Step 3: Set the seat and the hand controls to fit your kid
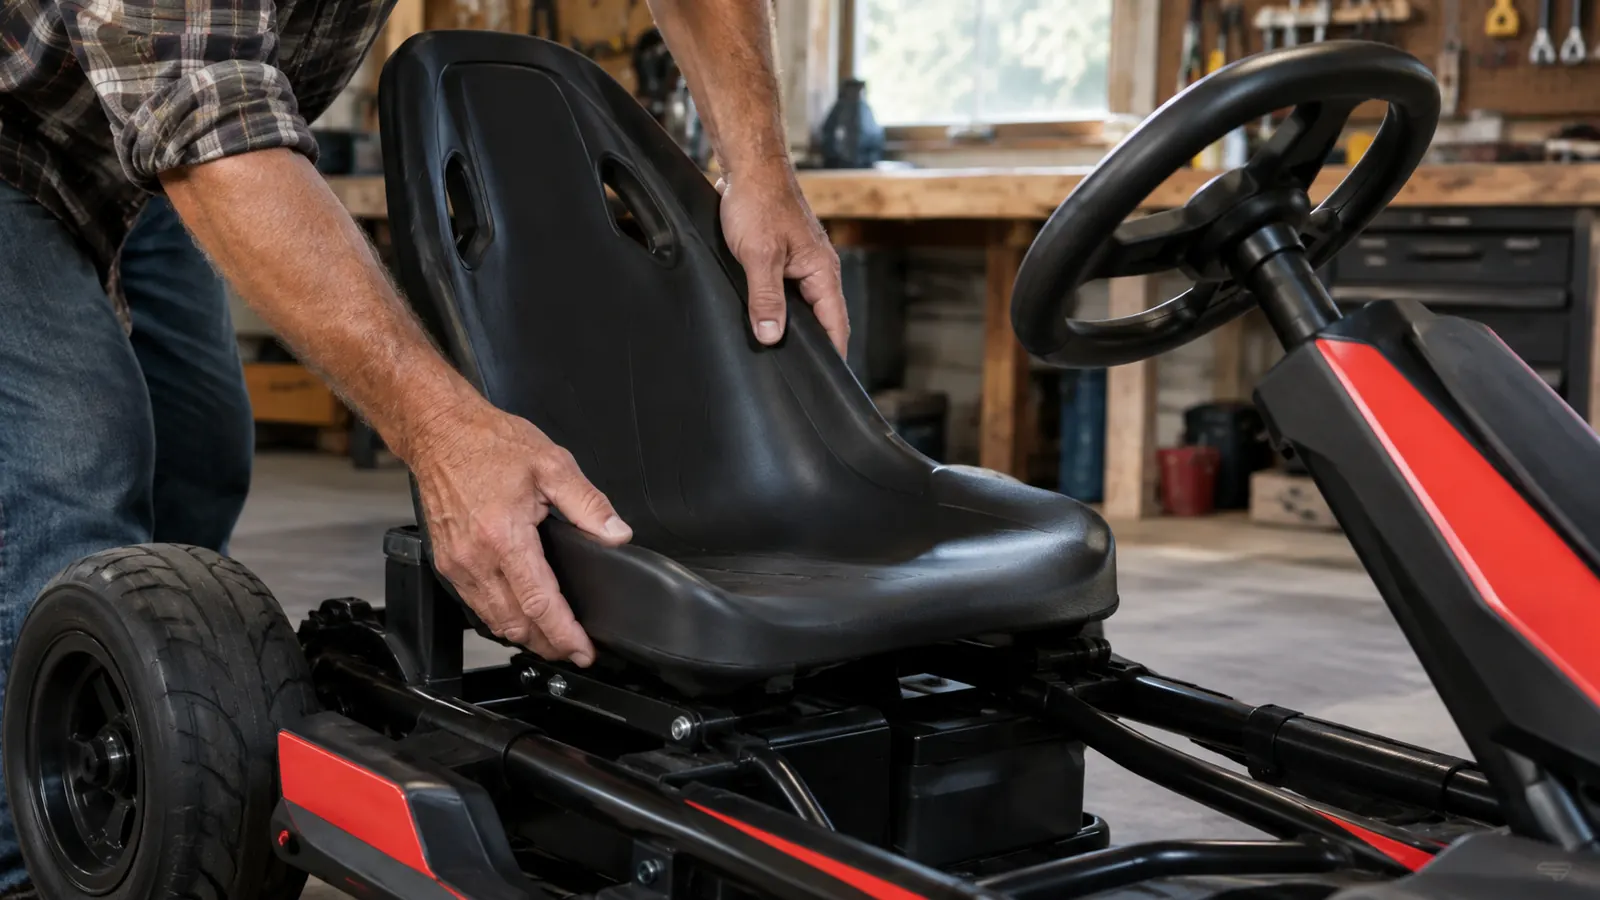
The seat on the Razor Crazy Cart Shift adjusts, and getting it right is the difference between a kid who can reach everything comfortably and a kid who is stretching for the controls. My son is 10, about 4 foot 7 and 75 pounds, and I set the seat so his knees were bent at a comfortable angle and his hands rested naturally on the steering wheel and the drift bar. It took two tries. The first setting was too far back, and he had to lean forward to reach the wheel. The second was right, and I marked the seat rail with a pencil line so I can find the same spot again if the seat gets moved.
The hand controls are the interesting part of this kart. There is no foot pedal. Your kid steers with the wheel and works the drift bar by hand, and the kart turns sharper and slides the rear end out when you pull the drift bar. That takes a little getting used to, especially for a kid who has only ever ridden a bike or a scooter. I had my son practice slow figure eights on the concrete pad for the first ten minutes before he tried anything faster. He kept trying to use his feet at first, the way he would on a scooter, and it took a few laps before he trusted the hand controls.
Check the hardware while you are at it. I went over every bolt I could see with a wrench after the first few rides, and I found one that had worked loose. That is normal for a new ride-on, and it is why I keep a small tool set by the garage door. Tighten, check the tires, and you are done for the day. I also check the tire pressure with a small gauge every couple of weeks, because soft tires change how the kart handles and how the drift bar feels.
Step 4: Pick the right surface and mark your practice area
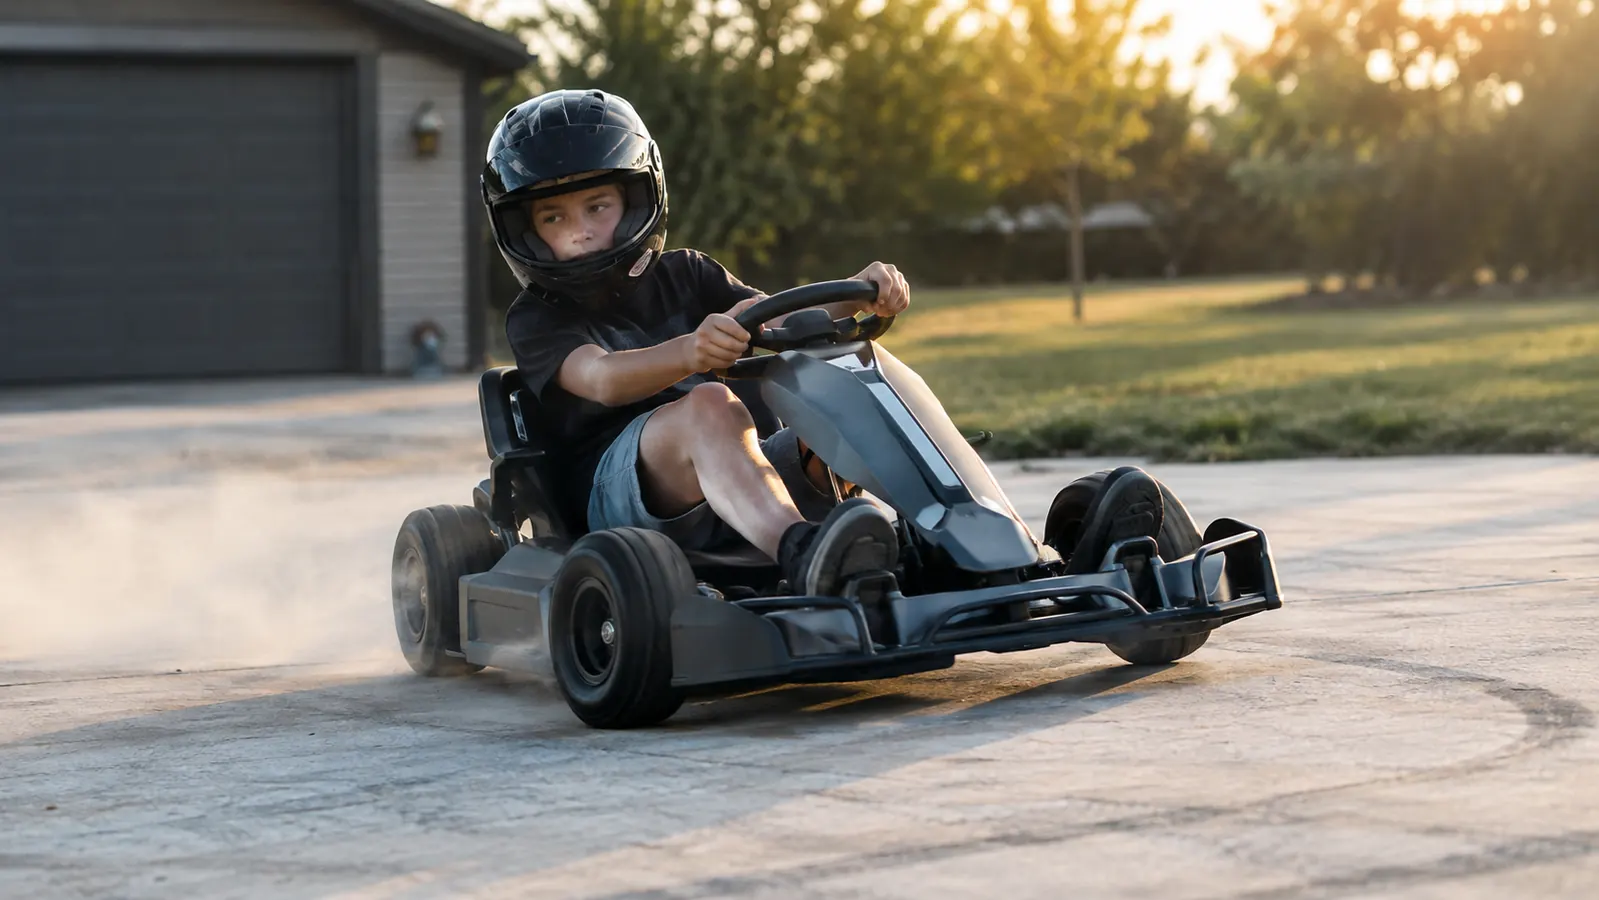
This kart needs a smooth, flat, dry surface. We use the poured concrete pad in front of the garage, which doubles as our basketball half-court. It is big enough for a wide drifting circle, and it is the only place on our property where the kart behaves the way it is supposed to. On gravel or grass, the rear wheels dig in and the drift bar does nothing useful. If you do not have a concrete pad, a clean, smooth driveway or an empty parking lot away from traffic works, as long as it is dry.
Before the first real ride, I swept the pad and marked a rough circle with a piece of chalk. That gave my son a target to steer around instead of wandering all over the concrete. It sounds simple, but a visual boundary makes a kid think about where the kart is going instead of just yanking the drift bar. We also agreed on a simple rule: one direction at a time, and stop if a parent says stop. The chalk circle was about twenty feet across, big enough for a full turn without feeling cramped.
The other part of surface setup is the weather. Wet concrete changes everything. The kart slides differently, the brakes grab differently, and a 10-year-old does not need that variable on day one. We only ride on dry days, and I wipe the pad down with a broom if there are leaves or grit. Small stones under a drifting rear wheel are a good way to scratch up the concrete and the kart. I also check the pad for cracks or raised edges before the season starts, because a hard edge can catch a wheel and stop the kart suddenly.
Step 5: Teach the controls in stages before you let them drift
The biggest mistake I almost made was handing my son the kart and letting him figure out the drift bar on his own. The Razor Crazy Cart Shift is genuinely fun, but the hand controls are backwards from what a kid expects. There is no gas pedal, and the drift bar is a separate lever that changes how the rear wheels behave. So we did it in stages, and it took about twenty minutes total. I stood in the middle of the chalk circle and talked him through each stage as he drove around me.
Stage one was just steering: slow laps around the chalk circle with the drift bar untouched. Stage two was the drift bar at low speed, pulling it gently in a turn to feel the rear end step out. Stage three was linking it together, a little speed into a turn, a pull on the bar, and a slide that ended facing the right way. By the end of the first afternoon, my son could hold a drifting circle without spinning out, and the grin on his face was the whole point of the project. He asked to go again the next morning before breakfast.
The safety habits stay the same every single ride. Helmet on, closed-toe shoes, an adult outside, and the kart stays on the concrete pad. My son knows the kart does not go on the road, ever, and he knows I check the brakes and tires before the season and after any crash. A scraped elbow is the worst thing that has happened on it, and the helmet and the supervision are the reason it has not been worse. I also remind him to take a break every few laps, because a tired kid makes sloppy decisions on a drifting kart.
What Else Helps
A few things made the whole setup easier. A good multi-sport helmet that fits is non-negotiable, and we bought one that adjusts with a dial so it still fits as he grows. A small air pump with a gauge is worth having, because the tires on a ride-on this size lose air over a few weeks and the handling changes when they are soft. A basic tool set with a socket wrench and a set of hex keys covers every adjustment on this kart. And a piece of chalk for marking a practice circle costs nothing and teaches a kid to steer with a purpose.
If you are still deciding whether the Razor Crazy Cart Shift is the right electric go kart for your driveway, the short version is this: it is a blast on a smooth, flat, dry surface, it is built for a specific age and weight range, and it needs an adult who is willing to do the setup and the supervision. It is not a toy you hand over and walk away from. It is a toy you set up together, and that is honestly the better part.
By the end of the first afternoon, my son could hold a drifting circle without spinning out, and the grin on his face was the whole point of the project.
Ready to set one up in your own driveway?
The Razor Crazy Cart Shift is the electric go kart we have run on our concrete pad all summer. It sets up over an evening or two, charges overnight, and gives a kid a reason to be outside every dry day.
Amazon Check Today's Price on Amazon →